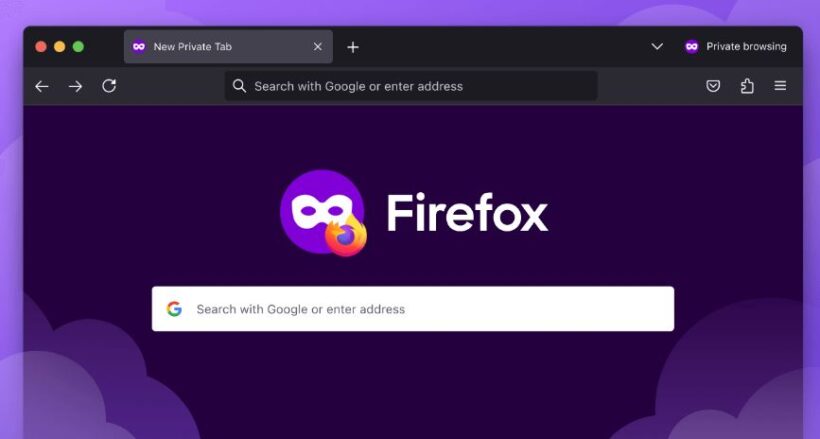
Look, I get it. You bought a Chromebook for its simplicity and speed, but sometimes you want a break from Google’s ecosystem. Maybe you’re concerned about privacy, or perhaps you just prefer Firefox’s features. Whatever your reason, I’ve spent countless hours experimenting with Firefox on my Chromebook, and I’m here to share everything I’ve learned about Setting Up Firefox Private Browser for Chromebook and getting it running smoothly.
Why Firefox on a Chromebook? (Yes, It’s Actually Worth It!)
Before we dive into Setting Up Firefox Private Browser for Chromebook, let me address the elephant in the room: Why would anyone want Firefox on a Chromebook? Well, I remember asking myself the same question about a year ago. Chrome OS comes with Chrome browser built-in, but here’s the thing – Firefox offers some unique advantages:
- Enhanced privacy features that work independently of Google’s ecosystem
- Better container support for separating your online identities
- Powerful customization options through Firefox’s about:config
- Access to Firefox-exclusive extensions
Prerequisites: Getting Your Chromebook Ready
First things first – your Chromebook needs to support Linux apps. I learned this the hard way when I tried installing Firefox on my old Samsung Chromebook (spoiler alert: it didn’t work). Here’s what you need:
- A Chromebook released in 2019 or later (generally)
- Chrome OS version 69 or higher
- At least 1GB of free storage
- A stable internet connection
Enabling Linux on Your Chromebook
Before we can install Firefox, we need to enable Linux. Here’s how:
- Click on the time display in the bottom-right corner
- Open Settings (the gear icon)
- Scroll down to “Advanced”
- Look for “Developers”
- Click on “Turn On” next to “Linux development environment”
Pro tip: If you don’t see the Linux option, your Chromebook might not support it. Trust me, I spent way too long looking for this option on an unsupported device!
Installing Firefox Private Browser
Now comes the fun part! There are actually several ways to install Firefox, but I’ll share the most reliable method I’ve found:
Method 1: Using the Terminal (Recommended)
sudo apt update
sudo apt install firefox-esr
Method 2: Flatpak Installation
If you prefer using Flatpak (which sometimes offers newer versions):
flatpak install flathub org.mozilla.firefox
Essential Privacy Configuration Tips
Here’s where things get interesting. After installing Firefox, you’ll want to optimize it for privacy. These are the settings I’ve found most useful:
- Enhanced Tracking Protection
Navigate to Settings > Privacy & Security and set Enhanced Tracking Protection to “Strict”. I’ve been using this setting for months, and while it occasionally breaks some websites, the privacy benefits are worth it.
- Custom Privacy Settings
In the about:config page (type it in your address bar), consider these changes:
- Set privacy.resistFingerprinting to true
- Enable privacy.trackingprotection.fingerprinting.enabled
- Set network.cookie.lifetimePolicy to 2
Quick note: Be careful in about:config – one wrong change can affect your browsing experience significantly. I learned that through trial and error!
Optimizing Performance
Firefox can run a bit slower on Chromebooks compared to Chrome (no surprise there). Here are some tweaks I’ve discovered that help:
- Disable Hardware Acceleration
- Sometimes, counter-intuitively, this improves performance on Chromebooks
- Go to Settings > Performance
- Uncheck “Use recommended performance settings”
- Uncheck “Use hardware acceleration when available”
- Limit Content Processes
- In about:config, set dom.ipc.processCount to 2 or 4
- This helps with memory management
Essential Extensions for Privacy
After countless hours of testing, these extensions have earned a permanent place in my Firefox setup:
- uBlock Origin – The gold standard for ad blocking
- Privacy Badger – Learns and blocks trackers automatically
- HTTPS Everywhere – Forces secure connections
- Containers – Keeps your different online identities separate
Troubleshooting Common Issues
Let’s talk about some problems you might encounter (because I certainly did!):
Slow Startup Times
If Firefox takes forever to launch, try:
- Clearing your cache and temporary files
- Reducing the number of startup pages
- Disabling unused extensions
Screen Tearing
This one drove me crazy until I found the fix:
- In about:config, set layers.acceleration.force-enabled to false
- Enable “Use smooth scrolling” in General settings
Daily Usage Tips
After using Firefox on my Chromebook for over a year, here are some practical tips:
- Use keyboard shortcuts:
- Ctrl + Shift + P for private browsing
- Ctrl + L to focus on the address bar
- Ctrl + Shift + T to reopen closed tabs
- Set up sync carefully:
- Only sync essential data to preserve performance
- Consider using a separate Firefox account for your Chromebook
The Bottom Line on Setting Up Firefox Private Browser for Chromebook
Running Firefox on a Chromebook isn’t just possible – it can actually enhance your browsing experience significantly. Yes, there might be a small learning curve, and you’ll need to tweak some settings, but the privacy benefits and customization options make it worthwhile.
Remember, these tips for Setting Up Firefox Private Browser for Chromebook come from real-world usage and plenty of trial and error. Your mileage may vary depending on your specific Chromebook model and how you use your browser. Don’t be afraid to experiment and find what works best for you.
Have you tried running Firefox on your Chromebook? What challenges did you face? The beauty of the open-source community is that we’re all learning together, and sometimes the best solutions come from unexpected places.


