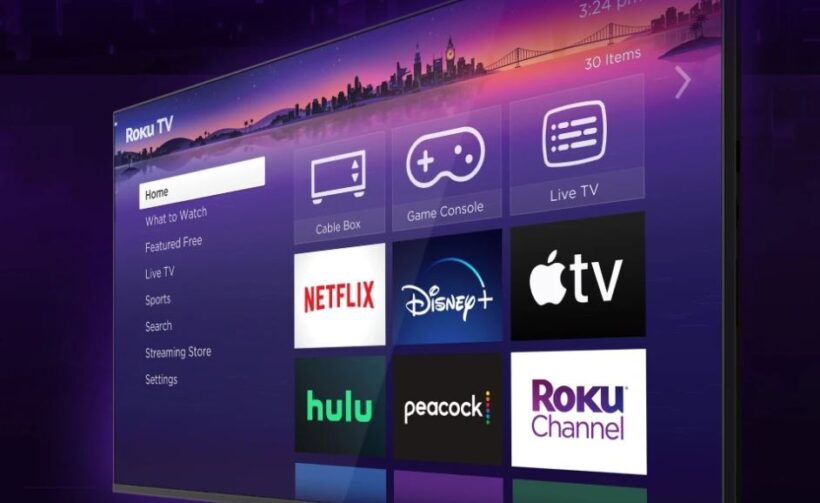
The Roku Developer Dashboard is the central hub for managing your Roku channels. Whether you’re a seasoned Roku developer or a beginner, this Roku dashboard provides all the tools necessary to develop, test, and publish channels.
In the quickly changing world of digital streaming, Roku has emerged as a trailblazer, providing a seamless and versatile platform for consumers to view a diverse range of content. Whether you’re an experienced developer or just getting started, the Roku Developer Dashboard is your gateway to building and maintaining your own Roku channels. This thorough guide is intended to help beginners navigate the Roku Developer Dashboard with ease, ensuring that you have all of the tools and expertise required to start a successful channel.
The Roku Ecosystem
Before we get into the mechanics of the Developer Dashboard, it’s crucial to understand why Roku is such a big deal in the streaming industry. Roku’s millions of active users and enormous library of channels provide an unequaled chance for content makers to reach a large audience. Roku devices are well-known for their easy-to-use interface, low price, and ability to stream content from big platforms such as Netflix, Hulu, and Amazon Prime Video, as well as innumerable niche channels.
For Roku developers, this means a stable foundation on which your work may shine. Whether you want to create a channel for movies, TV shows, educational content, or another genre, Roku has the tools you need to make it happen.
Creating a Roku Developer Account
Before you can dive into the dashboard, you’ll need a developer account. Follow these steps:
- Visit the Roku Developer Site: Go to the Roku Developer website and click on “Sign In” in the upper right corner.
- Create an Account: If you don’t already have a Roku account, click on “Create Account” and follow the prompts to set up your profile.
- Agree to the Developer Agreement: Once your account is created, you’ll need to agree to the Roku Developer Agreement to access the developer tools.
Navigating the Roku Developer Dashboard
Upon logging into your developer account, you’ll be greeted with the Roku Developer Dashboard. Here’s a breakdown of the key sections you’ll find:
- Home: This is your main overview page, where you can see recent activity, updates, and important announcements.
- My Channels: Here, you can create new channels or manage existing ones. You’ll find options to edit channel details, manage billing, and access analytics.
- Developer Settings: Manage your account settings, API keys, and other developer-specific configurations.
- Monetization: If you plan to monetize your channel, this section will be crucial. You can manage subscriptions, in-app purchases, and advertising.
- Analytics: Access detailed reports and metrics about your channel’s performance, user engagement, and revenue.
Creating Your First Roku Channel
Creating a Roku channel might seem daunting, but the Developer Dashboard simplifies the process. Follow these steps to create your first channel:
- Go to “My Channels”: Click on “Add Channel” to start the process.
- Channel Details: Fill in the required details, including the channel name, description, and language. Ensure your channel icon and screenshots meet Roku’s specifications.
- Developer SDK: Choose whether you’ll be using the Direct Publisher or the SDK to build your channel. Direct Publisher is more straightforward and doesn’t require coding, while the SDK offers more customization.
- Content Setup: If using Direct Publisher, you’ll need to provide a feed URL where your content is hosted. The feed should be in JSON format and adhere to Roku’s specifications.
- Monetization Options: Select your preferred monetization method. You can choose between ads, subscriptions, or in-app purchases.
- Preview and Submit: Preview your channel to ensure everything looks correct. Once satisfied, submit your channel for review.
Testing Your Roku Channel
Before publishing, it’s crucial to test your channel thoroughly. Roku provides several tools for this:
- Roku Device: Install your channel on a Roku device using a unique Developer ID. This allows you to test the channel in a real-world environment.
- Roku Emulator: If you don’t have a Roku device, you can use the Roku Emulator to simulate the device experience on your computer.
- Roku Remote: Use the Roku Remote app on your smartphone to control your test device and navigate your channel.
Publishing Your Channel
Once your channel passes testing, it’s time to publish. Follow these steps:
- Final Review: Ensure all details are correct, and your content complies with Roku’s guidelines.
- Submit for Certification: Roku will review your channel to ensure it meets all quality and content standards. This process can take a few days.
- Go Live: After approval, your channel will go live on the Roku Channel Store, making it available to millions of Roku users.
Optimizing Your Channel for Success
Creating a channel is just the beginning. To ensure your channel’s success, consider these optimization tips:
- SEO for Roku Channel: Just like web content, your Roku channel can benefit from SEO. Use relevant keywords in your channel description and metadata to improve visibility.
- Regular Updates: Keep your content fresh and regularly update your channel to maintain user engagement.
- User Engagement: Encourage user interaction through ratings and reviews. Positive feedback can boost your channel’s credibility and attract more users.
- Promote Your Channel: Utilize social media, email marketing, and other promotional strategies to drive traffic to your Roku channel.
Troubleshooting Common Issues
Even with the best preparation, you might encounter some issues. Here are common problems and their solutions:
- Channel Not Showing: Ensure your channel meets all Roku guidelines and has been approved.
- Playback Issues: Check your content feed URL and ensure it’s correctly formatted and accessible.
- Monetization Problems: Verify your monetization settings and ensure they comply with Roku’s policies.
Resources and Support
For further assistance, Roku provides a wealth of resources:
- Roku Developer Forum: Connect with other developers, ask questions, and share experiences.
- Roku Developer Support: Access official support for technical issues and account-related queries.
- Roku Documentation: Comprehensive guides and tutorials to help you navigate the development process.
Conclusion
The Roku Developer Dashboard is a powerful tool that opens up a world of opportunities for content creators. By following this guide, you’ll be well on your way to launching a successful Roku channel. Remember to stay updated with the latest trends and continuously improve your channel to keep your audience engaged.
By leveraging the insights and tips provided in this guide, you’ll not only create a compelling Roku channel but also optimize it for maximum visibility and user engagement. Happy developing!
Read Next:
