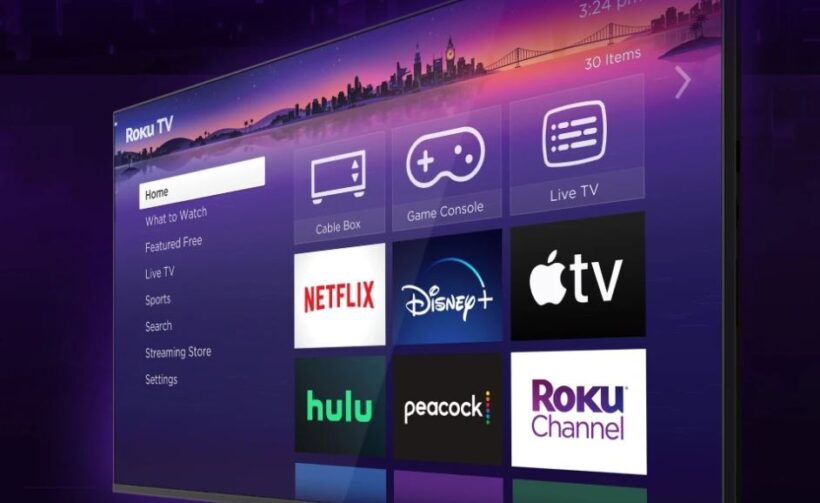
Screencasting, or mirroring, allows you to project your Chromebook’s screen onto a larger display like your Roku TV. This is especially useful for watching videos, giving presentations, or simply viewing content on a bigger screen. If you’re a Chromebook user and own a Roku TV, you’re in luck — both devices make it easy to screencast with just a few clicks.
In this guide on how to Screencast to a Roku TV from a Chromebook, I’ll walk you through everything you need to know about screencasting from your Chromebook to a Roku TV and also share some alternative methods for Screencasting to Roku from a Chromebook.
Why Screencast from a Chromebook to a Roku TV?
Screencasting is an effective way to wirelessly display your Chromebook’s content on your Roku TV without needing cables or additional hardware. Here are some common reasons why you might want to screencast:
- Streaming Content: Enjoy your favorite streaming services (like Netflix, YouTube, etc.) on a larger screen.
- Gaming: Play your favorite Chromebook games on your TV for a more immersive experience.
- Presentations: Use your Roku TV as a secondary display for presentations or meetings.
- Photo Sharing: Share photos or videos from your Chromebook with friends and family on your TV.
What You Need to Screencast from a Chromebook to a Roku TV
Before you begin screencasting, ensure that you have the following:
- A Roku TV or Roku Streaming Device that supports screen mirroring. Most Roku TVs and devices manufactured after 2017 support this feature.
- A Chromebook running Chrome OS with up-to-date software.
- Both your Roku TV and Chromebook must be connected to the same Wi-Fi network.
Now that you’re set, let’s walk through the steps to screencast.
Step-by-Step Guide to Screencasting from a Chromebook to a Roku TV
Step 1: Enable Screen Mirroring on Roku TV
First, you need to ensure that your Roku TV is set up to allow screen mirroring from other devices.
- Open the Settings Menu on Roku:
- Press the Home button on your Roku remote.
- Scroll down and select Settings.
- Enable Screen Mirroring:
- Navigate to System and select Screen Mirroring.
- Choose Screen Mirroring Mode and select either Always Allow or Prompt. If you select “Always Allow,” your Chromebook will automatically connect, while “Prompt” requires you to approve each connection.
- Screen Mirroring Devices:
- Under the same menu, you’ll see a list of devices that have tried to connect. This lets you manage which devices are allowed to mirror your screen.
Once you have screen mirroring enabled on your Roku TV, it’s time to move to your Chromebook.
Step 2: Connect Chromebook to Roku TV via Cast
Chromebooks offer a simple way to cast your screen using the built-in Google Cast feature, which is compatible with Roku TVs.
- Open the Chrome Browser on Your Chromebook:
- Launch Google Chrome on your Chromebook.
- Access the Cast Feature:
- Click on the three vertical dots (menu button) in the top-right corner of the Chrome browser.
- From the dropdown menu, select Cast.
- Select Your Roku Device:
- A small window will pop up, showing all the devices available for casting. Look for your Roku TV or Roku streaming device in the list of devices.
- Click on your Roku device.
- Choose Your Casting Mode:
- After selecting your Roku device, you will be prompted to choose how you want to cast:
- Cast Tab: This will mirror only the specific browser tab you’re using.
- Cast Desktop: This option allows you to mirror your entire Chromebook screen, including any apps or windows open on your desktop.
- For screencasting, select Cast Desktop to mirror the entire Chromebook screen on your Roku TV.
- After selecting your Roku device, you will be prompted to choose how you want to cast:
- Confirm the Casting:
- After selecting Cast Desktop, a confirmation window will appear asking you to choose which screen you want to share (if you have multiple displays). Select your main Chromebook screen and click Share.
Step 3: Control the Screencast
Once your Chromebook is successfully connected to your Roku TV, everything on your Chromebook screen will be mirrored on your TV. You can:
- Open apps, stream videos, or play games directly from your Chromebook, and they will appear on the TV in real-time.
- To stop casting, click the Cast icon in the Chrome browser (which should now be highlighted), then click on your Roku device to disconnect.
Troubleshooting Tips for Screencasting
If you’re encountering issues while trying to screencast from your Chromebook to your Roku TV, here are some common fixes:
- Check Wi-Fi Connection: Make sure both your Chromebook and Roku TV are connected to the same Wi-Fi network. Screencasting requires both devices to be on the same network for them to communicate properly.
- Update Software: Ensure that your Chromebook and Roku are running the latest software versions. Older versions may not support screen mirroring or could have bugs that disrupt the casting process.
- Roku Compatibility: Not all Roku models support screen mirroring. Make sure your device is screen mirroring capable by checking the device’s specifications.
- Restart Both Devices: If your Chromebook isn’t showing the Roku in the cast menu, try restarting both the Chromebook and the Roku TV.
- Disable VPN or Proxy: VPNs or proxies can sometimes interfere with screencasting. If you have one enabled, consider disabling it temporarily while casting.
Alternative Methods for Screencasting to Roku from a Chromebook
If the built-in Cast feature isn’t meeting your needs, or you want additional functionality, there are other options you can explore for screencasting from your Chromebook to Roku.
Option 1: Use a Third-Party App (like Miracast)
Some third-party apps like Miracast or AllCast offer alternative methods to cast or mirror your Chromebook to a Roku TV. These apps often offer more features and work across different devices.
- How to Use Miracast: You can install Miracast from the Google Play Store (if your Chromebook supports Android apps), then follow the instructions within the app to cast to your Roku device.
Option 2: Use an HDMI Cable (for a Wired Connection)
If you’re experiencing lag or issues with wireless screencasting, you can always use an HDMI cable to connect your Chromebook to your Roku TV. Most Chromebooks come with USB-C ports, so you may need a USB-C to HDMI adapter.
- Connect the HDMI Cable: Plug one end of the HDMI cable into your Roku TV and the other into your Chromebook (via the adapter if necessary).
- Select the HDMI Input on Your Roku TV: Use your Roku remote to change the input to the correct HDMI port.
- Mirror Your Chromebook: Once the devices are connected, your Chromebook should automatically mirror its screen to the Roku TV.
Final Words on how to Screencast to a Roku TV from a Chromebook
Screencasting from a Chromebook to a Roku TV is a simple and effective way to share content across your devices, whether it’s streaming videos, gaming, or giving a presentation. The built-in Google Cast feature works seamlessly with Roku, making it easy to mirror your screen wirelessly. If you’re looking for more advanced features, consider using third-party apps or a wired connection.
With this guide, you’re now equipped to start Screencasting from a Chromebook to Roku TV Screen. So grab your Chromebook, follow the steps, and enjoy your favorite content on the big screen!
Read Next:
